Masking
The first big masking challenge for this kit was the cylinder of the revolver.

I want to color the 6 circles around the cylinder with yellow so that they look like bullets loaded into the chambers. If I was a smart man, I would just hand brush each chamber. By this point, you should understand something...


I then took a pencil and traced around the chambers and then placed the masking tape on the cutting mat.

Now I just needed to cut these circles out but that's hard to do with a regular modeling knife. So I got myself some of these:

These are tools used for punching holes into leather. To use them, I need some help from my little friend -

I found a hole puncher that best fits the size of the circles and placed it above one of the circles and lightly hit the other end with the hammer.

I did this for all six holes and then placed the tape on the cylinder. Unfortunately I noticed the circles didn't perfectly align. So I tried modifying the plan a bit by cutting the tape into pizza slices.

I then aligned each slice of masking tape along each chamber outline.

I quickly realized this had its own problem - there were lot of small gaps between each slice. At this point, instead of trying to figure out a way to mask every small gap, I decided to take the slow and steady method.

I decided to just paint in one chamber at a time.

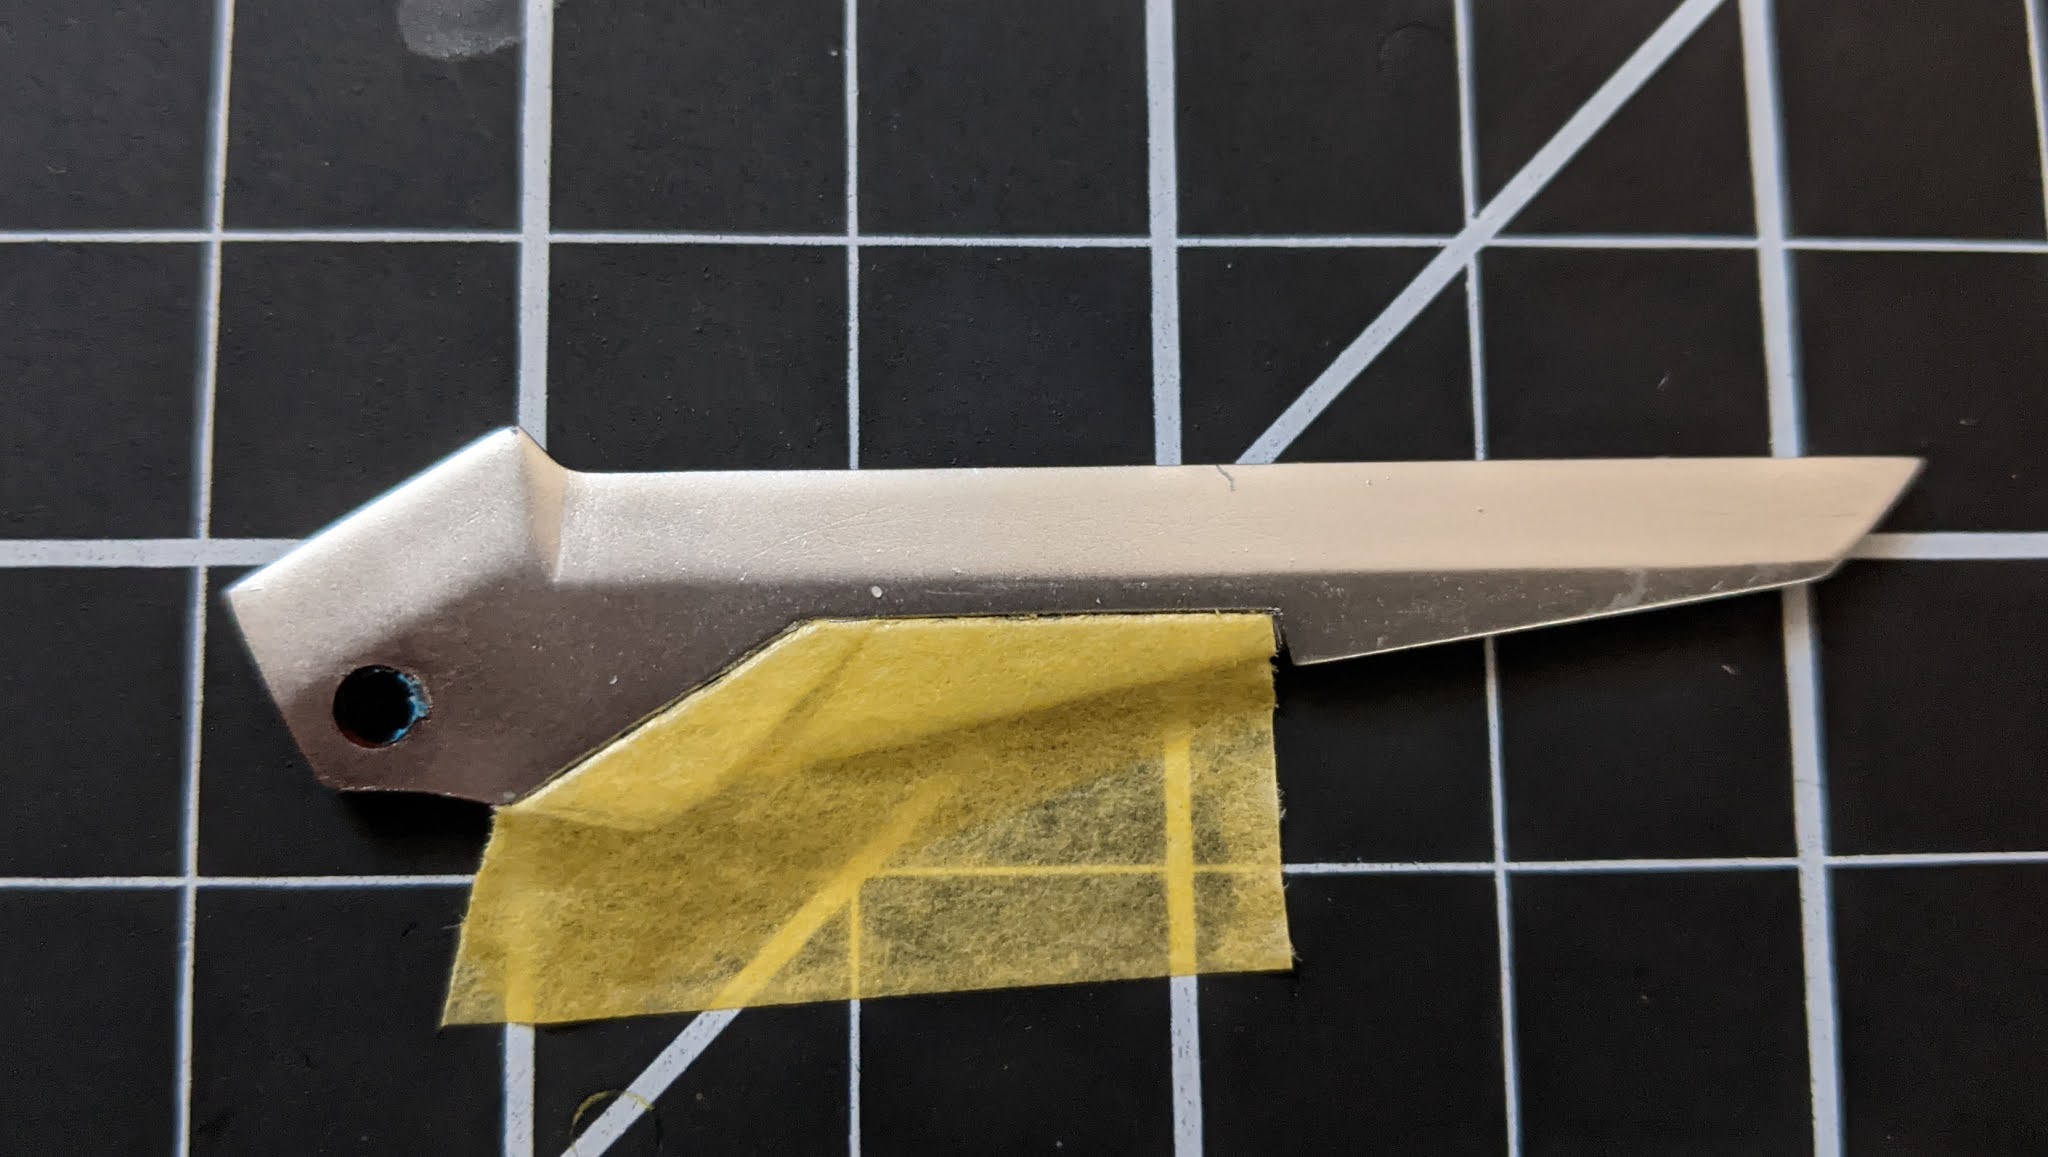
This part requires two steps of masking but it should be much easier than masking the chambers.
I once again started out by placing a masking tape large enough to cover the entire section that I want to mask.

Thanks to the deep grooves I cut for panel lines, I was able to just use modeling knife directly onto the masking tape and cut along the panel lines.
Now it's time for the fun part - candy coating.
Airbrushing
I started by applying a light layer of clear yellow on top of the masked chamber.

I waited a few mins for it to dry and then went on and applied another layer.

The candy coated yellow color looked nice. I gave it a few mins to dry again and removed the masking tape.

It wasn't perfect because the hole was a bit smaller than the actual chamber but I figured it was good enough. I went on and placed the same masking tape on along a different chamber and started airbrushing again.
I was able to mask on top of the freshly painted chambers without damaging the paint after only letting it dry for 5 minutes.

Hmm... maybe I should have used a copper color instead of candy coating it yellow.

By the 4th chamber, I realized paint is spilling through the masking tape... Reusing the same masking tape was a terrible idea...
So I started cutting out a new masking tape with a hole for each chamber.

I suppose the saving grace is that this part isn't going to be very visible once I finish assembling.
On the other hand, the other side of the cylinder came out perfectly because I used a new piece of masking tape for each chamber (and the hole punching tool sizes fit better).

In any case, I went on and candy coated the remaining yellow pieces.

On the left, we have a piece before I started applying candy coat layers on top of the base chrome. On the center, we have the same piece after applying the first layer of clear yellow. And finally on the right, we have the same piece after the second layer of clear yellow. You can see that each layer makes the color show up much stronger.
After all the yellow candy coats were done, I moved on to the pieces that were to be painted red. After I finished applying the first layer of clear red on all my pieces, I noticed something.

I'm still not quite 100% sure what happened here. As the clear coat started drying, it started leaving speckles of unpainted regions around the pieces. And to make things extra bad, it was happening to all of them.

My best guess is that I thinned the paint too much and also applied a too thick of a layer for the first pass.
At this point, I don't think there was anything I could do to salvage these. I had to start over...
Repair
Hello darkness my old friend...

No, not you.

Just looking at this thing gave me a stomach cramp... I started having flashbacks of Wing Zero Custom.
Before I dunked all the pieces into a windex bath, I decided to take a peek at how well the masking would have come out for the shoulder wings.

Sigh... This was going to come out so nicely...
In any case, I filled up a tupperware full of windex (the kind with ammonia) and dunked all the red pieces inside it.
I then went and cried for the rest of the day.
Today I Learned
- Do not reuse masking tape - stop being so lazy!
- Candy coating is hard
- When testing paint layers on a spoon, make sure to check how it dries too (I was seeing the same thing happening on the spoon when it dried)
- Need remember that candy coating is all about applying THIN layers
No comments:
Post a Comment