Complete - SD Alt Eisen Riese (12/2/20)

Final Assembly

After all the paint finished curing, it was finally time for the final assembly.


Because acrylic paint is very thick and candy coating uses so many layer of paint, it was very challenging to piece lot of the parts together. I had to turn to filing lot of connecting points to make them even fit at all.


Even after filing down lot of joints, lot of parts were incredibly hard to assemble. The whole ordeal took about 3 hours.


And here I thought this would only take about a half an hour...


Beautiful!

I then tried to pose it and take some photos...


And the leg joints broke off immediately.


Repair

Joints like these cannot be fixed by just gluing the pieces back together because they'll just break apart as soon as you try to move them again. Plus, some parts were too tightly stuck (because of the paint) and would not move. So I had to go with a more extreme measure.

After some supplies arrived, I started sawing off the leftover pieces from the waist.


Then i sanded off the rough surface.


Now I had to do something about the hole.


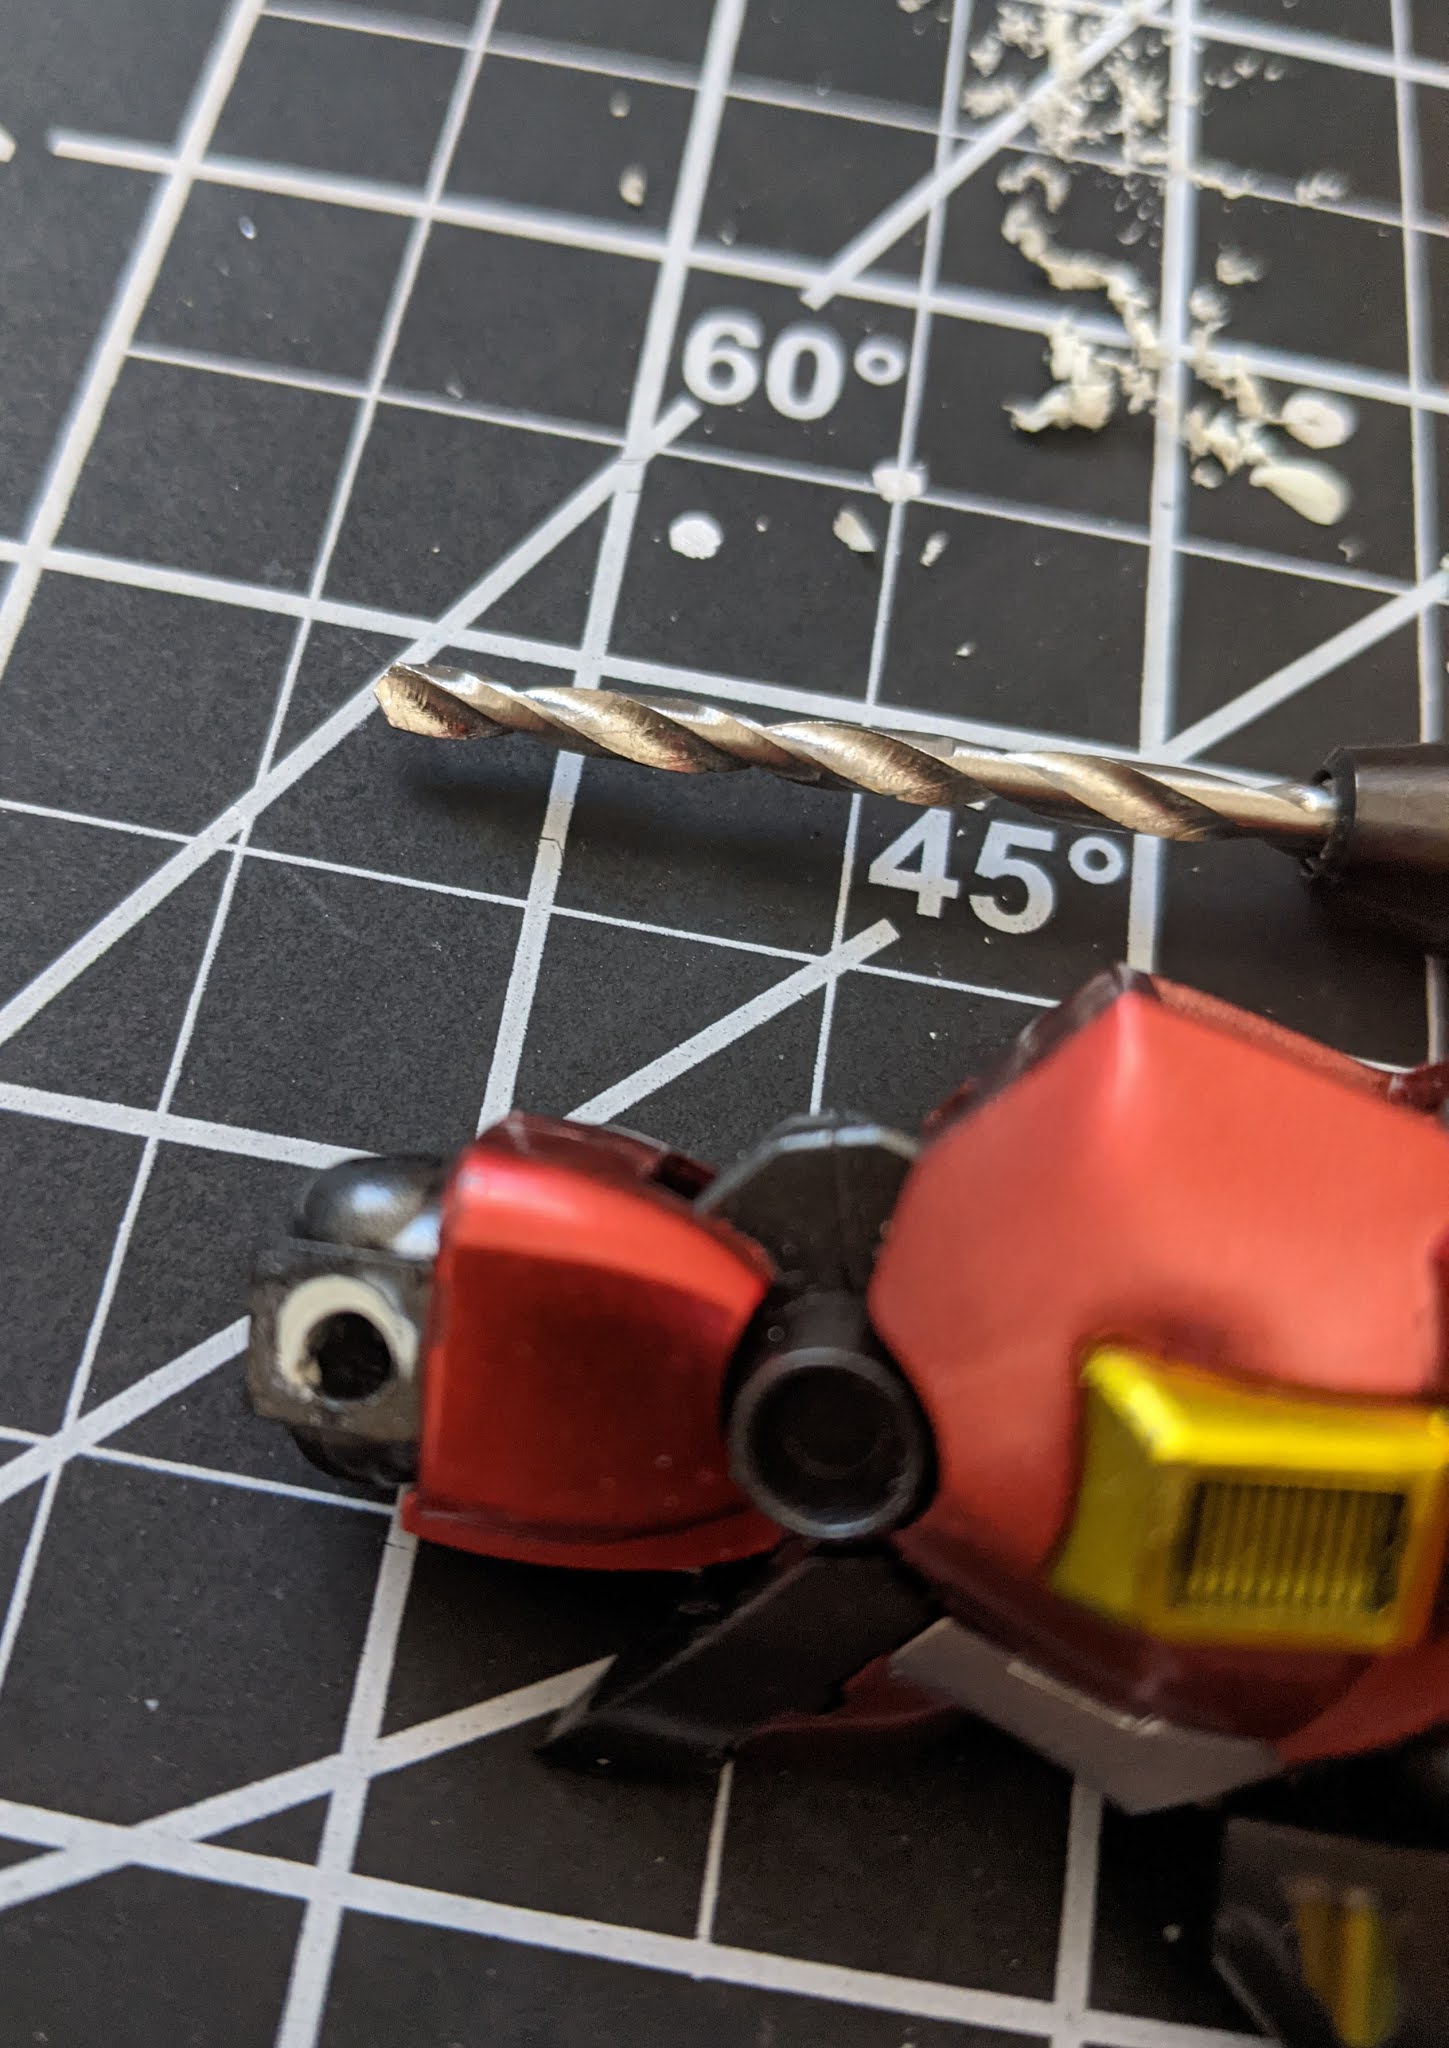
I got myself a drill bit on a pinvise and drilled thru all the way.


The goal here is to put a metal rod through and use that as the new joint. But before I can do that, I decided to touch up the surface that was scratched off during the sawing and sanding process.


I figured since this was not an area that is not easily visible, I hand-brushed in the gunmetal paint.

Next, I needed to do something about the holes in the legs.


The metal rod I had was 3mm but the holes were about 5mm so I grabbed some of these to fill the hole first.


Epoxy putty comes in two parts: putty and hardener.


You use them by mixing them into a single clump (1:1 ratio). Once they are mixed, it takes about 5 hours before it starts to harden and takes about 12 hours to completely harden.


I filled in the holes with the putty and left it overnight to harden. As you can see, I also wasted a good chunk of putty by mixing too much.

Once the putty hardened, I sliced off the excess.


Once again, it was time to drill.


Your drill is the drill that will pierce through the hardened putty!!! ...or something like that.

The rod was too thick to cut with a regular nipper so I got some help from my little friend - meet Mr bolt cutter.


Some test fitting:


The rods fit perfectly but they felt a bit loose because the 3mm drill bit was slightly bigger than the 3mm rod due to some minor margin of error. So I used some super glue to coat over the rods.


By allowing the super glue to dry, I can have a slightly thicker joint that would fit a bit more tightly. This is a useful trick that can be used on regular joints too if they are too loose by design.


Finished!!! (for real this time)

Click here to see full album


Today I Learned

  • When drilling a hole with a drill bit for a joint, try using one that is slightly smaller than the hole you actually need and expand the size later as you see fit

Progress Report - SD Alt Eisen Riese (11/19/20)

Masking Hell Continues

Continuing the idea of masking the joints, I started my never ending quest of masking.


And some more for the usual color division masking.


The round parts on the skirt in particular was tricky. I needed to paint the round part chrome and then mask out the rims and paint the center orb gunmetal.

It took a few tricky masking layers but the end result came out clean.

Adding Custom Color Divisions

I figured the backpack color was too bland so I decided to add details by adding custom color divisions.


I masked everything except the rims of the backpack thrusters so that I can give them a candy coat yellow instead.

After I finished the candy coat yellow on the thruster rims, I found some photos online that there is supposed to be a color division on the center part of the backpack as well (I really wish the model kit manual had photos of the back). So I went on and did some more masking and added more color division to the backpack.


The yellow rims do feel a bit overbearing but I figured this was fine and moved on.

I also decided to do something similar for the back wings as well.


Normally, this whole piece is red but I masked the bottom part before giving the rest of the piece a candy coat red so that it'll have a thin chrome line on the bottom.

Triple Color Split Masking

In the photo below, the parts that are masked by the giant blue masking tapes are the shoulder wings that I previously painted. After the paint on the wings were fully cured, I did a partial assembly with the base of the wing, removed the seam line, and gave it a glossy black base coat.


I then masked the wing base in two separate parts to give it two different metal coats (chrome and gunmetal). Once the metal coats were cured, I masked out the edges to add candy coat yellow.


After the yellow candy coat was sufficiently cured, I re-masked the base of the wing to finally paint the rest candy coat red.

Working With Putty

I worked on some more seam line removal after partially assembling the back wing pieces and the head piece.


The usual cement glue trick worked great for the back wings but the head piece (left) was having issues because the seam lines were too big. The head piece also had uneven surfaces resulting from poor injection mold and some deep scratches left by poor gate removal. I figured this required some special attention so I grabbed some putty.


The putty was great for filling in the seam lines and the other minor flaws. After the surfaces were covered with putty, I sanded them down to create a smooth surface.


Once the putty cured, I was able to paint the piece and confirm that no dents, seam lines, or scratches were visible anymore.

Concave Color Divisions

Remember the awful curved indented color division on the ankle guards that were giving me trouble? Well, there is a similar piece on the chest as well.


Above is a photo of enamel washing gone terribly wrong. You see here the enamel thinner eating through the clear coat layers AND the candy coat layer underneath it as well.

At this point, I decided I had to try something else so I grabbed some lacquer paint.


Oh look at how shiny and reflective that lacquer chrome looks.


Even the clear red looks so much nicer with lacquer.


I then squeezed some gold ink from a Gundam marker (enamel) and painted in the concave area with a brush.


And I did the same for the ankle guard.

I then grabbed some Gundam marker eraser and tried to wipe off the marker ink...


... so I guess Gundam marker eraser can eat through lacquer...


After this disaster, I spent a few days doing some research on how to go about this. Someone online suggested I should try using very small square pieces of masking tape to cover the edge of the curve. So I gave that a go.


I covered the edges very closely with the small square pieces on the ankle guards and the chest piece. I then covered the remaining areas with a bigger masking tape and painted it chrome.


For the ankle guards, I also had to add a small strip of masking tape before the candy coat layer to leave a strip of chrome color. Once that was done, I went on and candy coated the pieces with clear yellow.


At this point, I didn't know what to expect. This was my fourth attempt at the ankle guards...


CLEAN!!!


YES!!!


The reason why small square masking tapes work even though the edges are curved is because the tapes are placed slightly over the edge BUT are not folded in to stick to the wall of the dent. This means when the paint is sprayed, it can paint underneath the masking tape and we have a clean color division.


Finally, I finished off by coloring in the orb with a chrome marker.

Last Few Details

With most of the major paint layers finished, all that was left were some finishing touches.


I did some partial assembly for the back wings so that I can add panel lines.


There were some details on the left arm that also needed some attention as well.


For once, I decided to be a smart man and hand brush them in.


And I finished it off by painting the small orb with a chrome marker.


the details on the thigh also felt like it could use some loving.


I used a toothpick to add some extra color details.

And with that... all the painting for this two month project is complete. Next week, when all the top coats fully cure, I can do the final assembly and complete this project.