Final Assembly
After all the paint finished curing, it was finally time for the final assembly.

Because acrylic paint is very thick and candy coating uses so many layer of paint, it was very challenging to piece lot of the parts together. I had to turn to filing lot of connecting points to make them even fit at all.

Even after filing down lot of joints, lot of parts were incredibly hard to assemble. The whole ordeal took about 3 hours.

And here I thought this would only take about a half an hour...

Beautiful!
I then tried to pose it and take some photos...

And the leg joints broke off immediately.

Repair
Joints like these cannot be fixed by just gluing the pieces back together because they'll just break apart as soon as you try to move them again. Plus, some parts were too tightly stuck (because of the paint) and would not move. So I had to go with a more extreme measure.
After some supplies arrived, I started sawing off the leftover pieces from the waist.

Then i sanded off the rough surface.

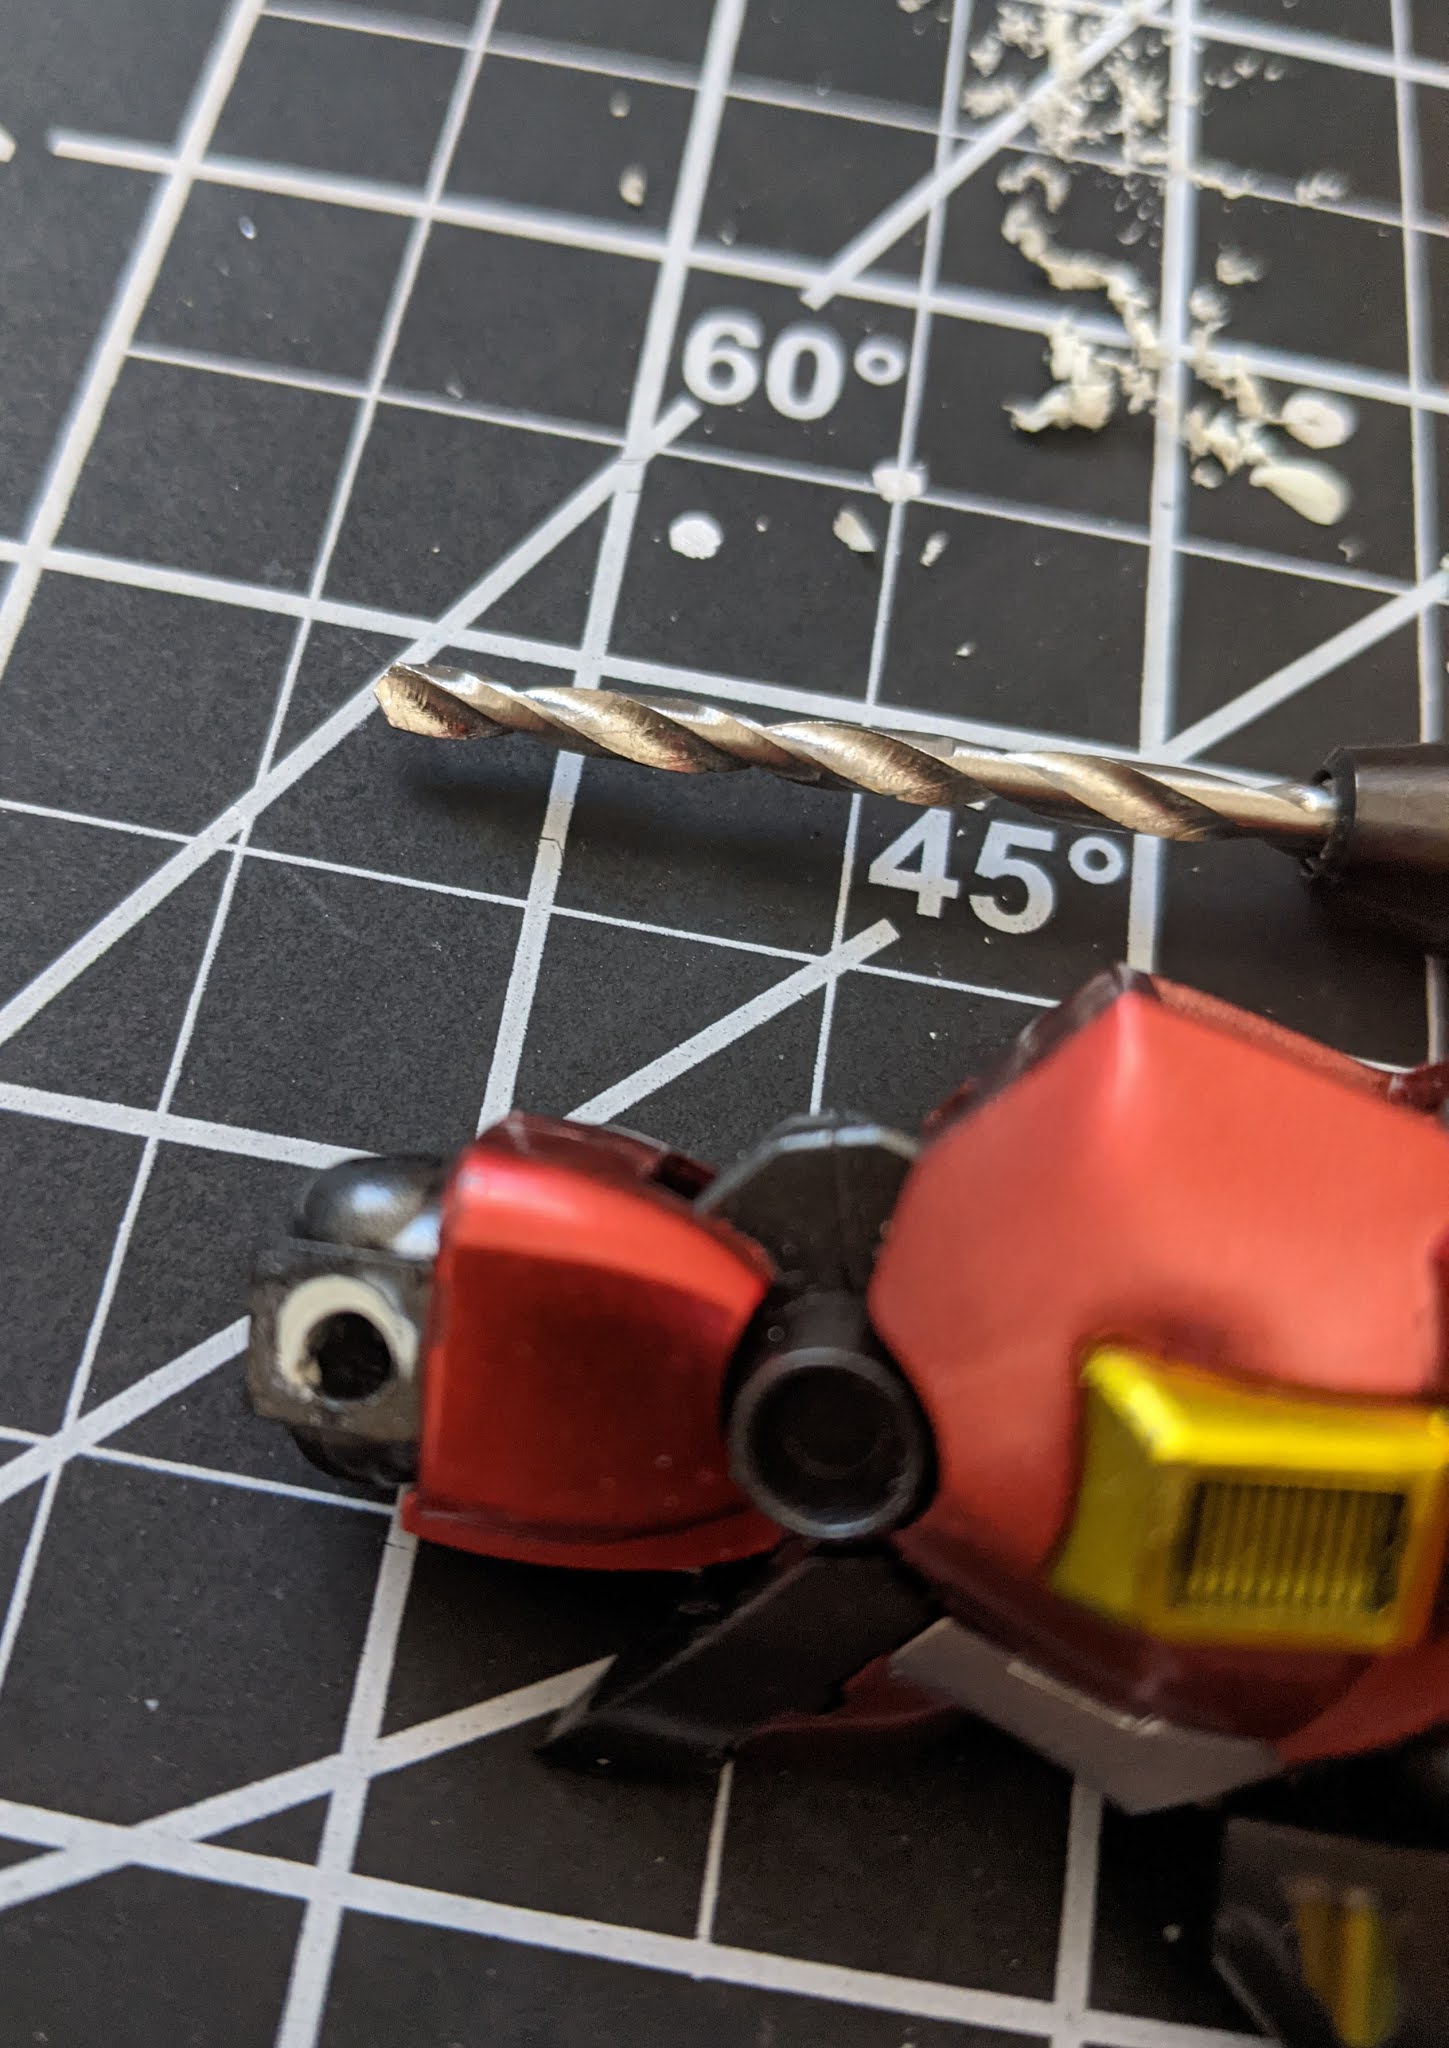
Now I had to do something about the hole.

I got myself a drill bit on a pinvise and drilled thru all the way.

The goal here is to put a metal rod through and use that as the new joint. But before I can do that, I decided to touch up the surface that was scratched off during the sawing and sanding process.

I figured since this was not an area that is not easily visible, I hand-brushed in the gunmetal paint.
Next, I needed to do something about the holes in the legs.

The metal rod I had was 3mm but the holes were about 5mm so I grabbed some of these to fill the hole first.

Epoxy putty comes in two parts: putty and hardener.

You use them by mixing them into a single clump (1:1 ratio). Once they are mixed, it takes about 5 hours before it starts to harden and takes about 12 hours to completely harden.

I filled in the holes with the putty and left it overnight to harden. As you can see, I also wasted a good chunk of putty by mixing too much.
Once the putty hardened, I sliced off the excess.

Once again, it was time to drill.

Your drill is the drill that will pierce through the hardened putty!!! ...or something like that.
The rod was too thick to cut with a regular nipper so I got some help from my little friend - meet Mr bolt cutter.

Some test fitting:

The rods fit perfectly but they felt a bit loose because the 3mm drill bit was slightly bigger than the 3mm rod due to some minor margin of error. So I used some super glue to coat over the rods.

By allowing the super glue to dry, I can have a slightly thicker joint that would fit a bit more tightly. This is a useful trick that can be used on regular joints too if they are too loose by design.

Finished!!! (for real this time)

Today I Learned
- When drilling a hole with a drill bit for a joint, try using one that is slightly smaller than the hole you actually need and expand the size later as you see fit
No comments:
Post a Comment