Progress Report - SD Alteisen Riese (10/7/20)

Repair

After leaving the ruined pieces in windex for 2 days, I decided it was time to check on them.


The red layer and the chrome layer seemed to have come off but the black primer was being very stubborn.


If you're wondering if it smelled as bad as it looked... it was way worse. Ammonia is awful.

I tried scratching off the black primer and it came off without too much resistance but it didn't seem like it wasn't gonna be removed without some manual work.


So I grabbed some low grit sandpaper and started scrubbing...


After working on two pieces, I realized this was heading towards where we went with Wing Zero Custom. I had to find a better way...

Say hello to my little friend:


99% isopropyl alcohol.

Of course I figured 99% might be a tad bit too strong so I tried diluting it a bit by mixing in some water. I then dunked in the pieces into the bath of diluted alcohol and left them for about 30 minutes. Here were the results:


The primer didn't just melt off like the other paints but all I had to do was lightly scrub them using a toothbrush. I wish I had done this with Wing Zero Custom as well... (I really need to let it go)

I later learned that the Vallejo gloss black primer I was using was not the usual water based acrylic paint used by most other Vallejo products. In fact, this particular primer was polyurethane based acrylic, which takes longer to fully cure but cures much stronger than its water based counterparts. This was why it took so much more effort to remove it.

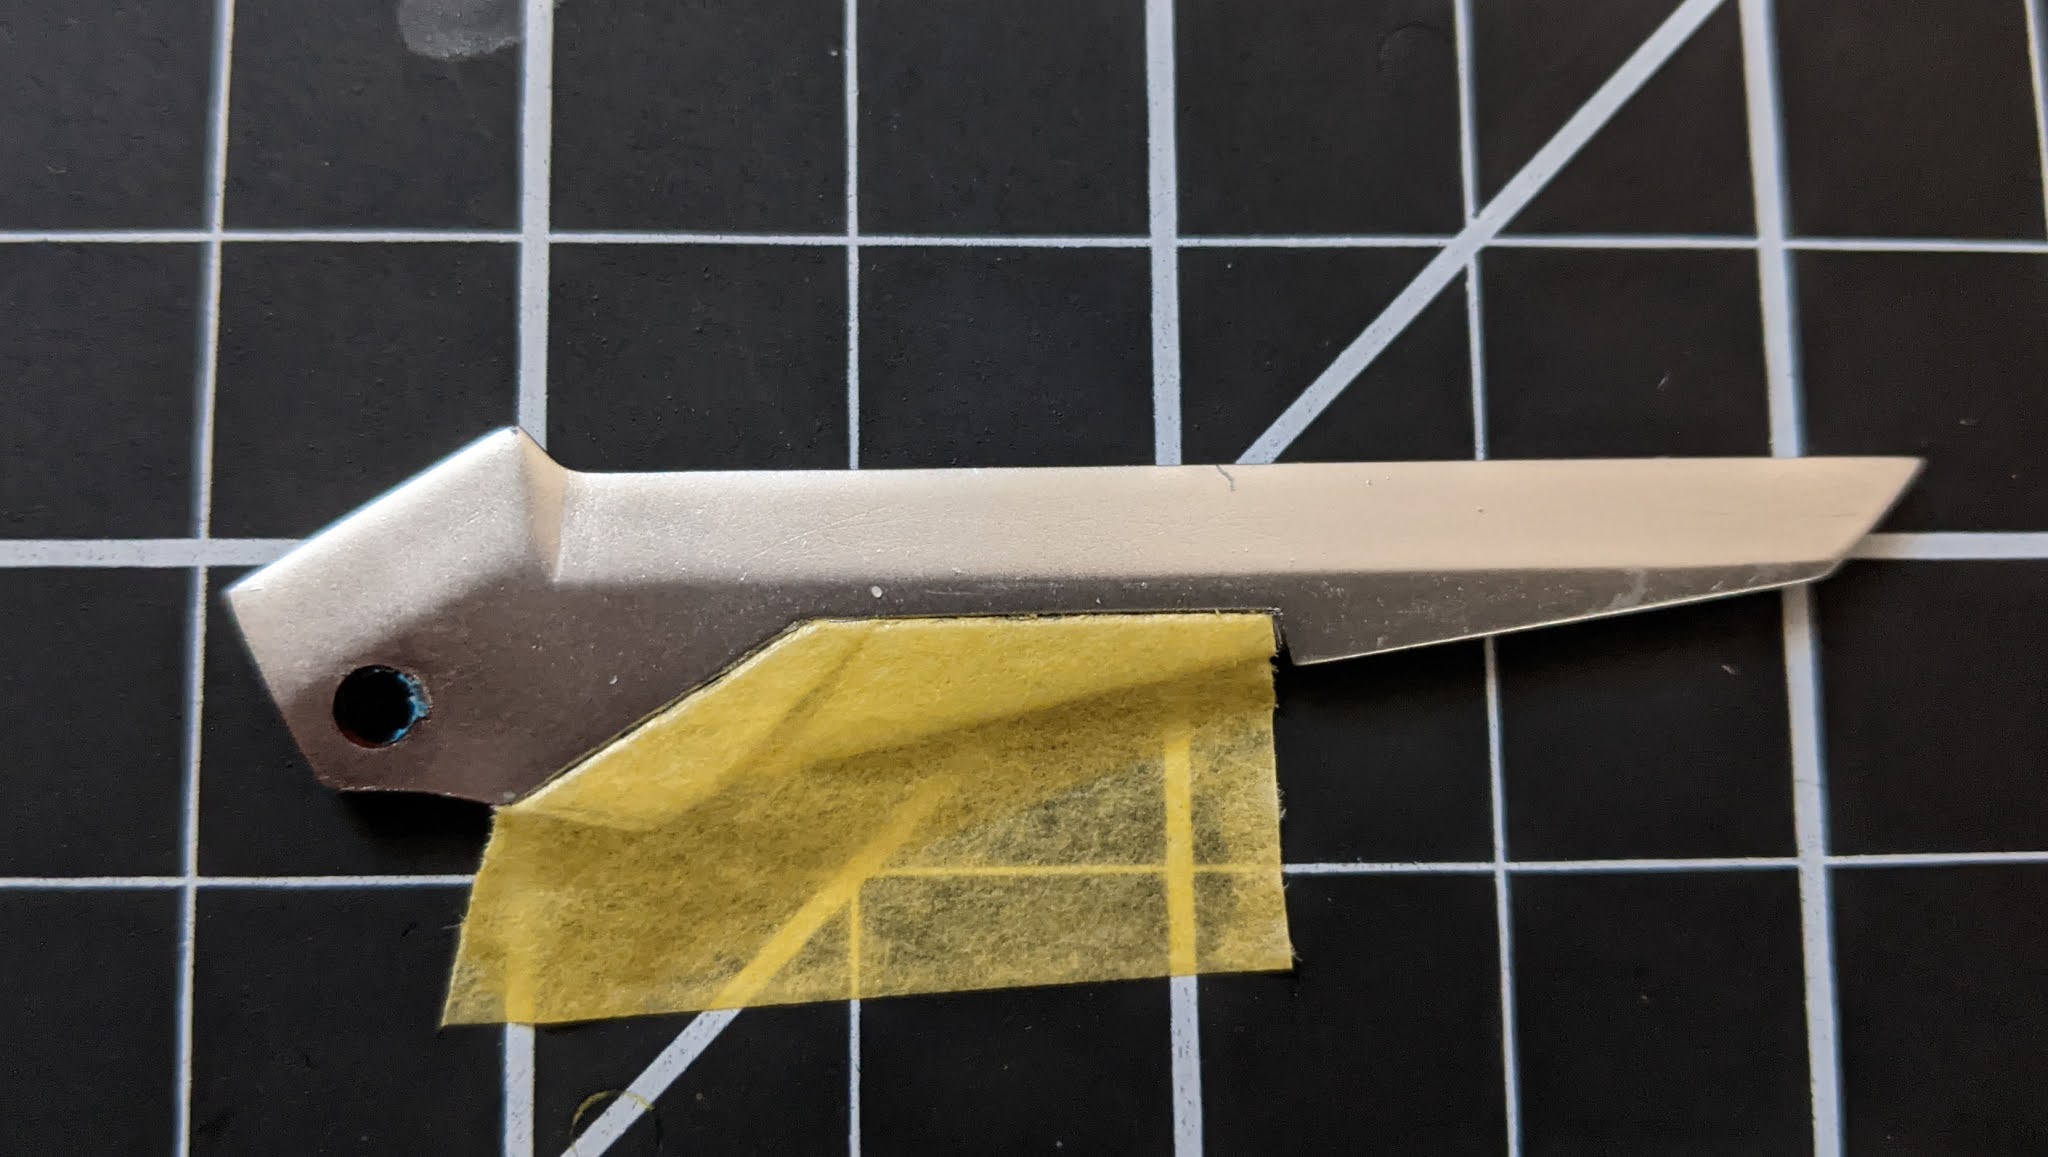
Since we are now back to the beginning, I figured I'd use this chance to attempt to fix up the shoulder wings one more time.


This time, I had super glue so I used it to fill in the gaps that had unwanted scratches. After the glue cured, I went on and sanded them down again.


And then I re-scribed the panel lines one more time...


Note that the little black marks are old scratches that were filled in with transparent glue so they were still visible but were smooth to the touch.

Primed it one more time to see if they look good...


Aaaaand I think we're good.

Masking

This time around, I had a few tricky masking challenges.

The first one I tackled was the machine gun barrel.


My goal here is to color in the connecting plate in the center of the barrel and base area into a darker color. I started out by cutting out thin long strips to cover the barrels. I then used smaller strips to cover the intersections of the barrel and the center plate.


I had to take extra caution to push in the tape into grooves between the barrels so that the paint does not seep through. I did this by carefully using a wooden toothpick while making sure not to poke holes into the tape.

The next tricky challenge was the shoulder verniers. Previously, I painted the entire piece chrome but I wanted to only leave the chrome color on the actual verniers and not the rest of the piece.


For this, I used some masking tapes designed for curved surfaces and covered up the outer rims of the verniers.


To make sure the inside was also covered, I used some generic masking tape (the cheap stuff) to create cones and cover off the tips of the verniers.

Airbrushing

I used gunmetal color to paint over the masked pieces.


Peeling off masking tape is always exciting and nerve wracking at the same time.


The barrel came out nicely. I did notice little bit of paint did still seep into the grooves between the barrels but it was so small that it gave it a nice panel line/shading texture.


The verniers also came out very nicely too. If there was one flaw, it was that the gunmetal color came out way too bright so that there wasn't a strong contrast with the chrome color of the verniers. This was because the gunmetal layer went over the chrome layer instead of a glossy black layer so it did not have the darker tone seen in the other pieces with gun metal. In any case, I was still very happy with the outcome of these particular pieces.

Panel Lining

Some of the pieces that needed panel lines colored in had their clear top coat cured enough to start enamel wash.


I took some enamel black paint and thinned it in lighter fluid. I then took the thinned paint and dropped a few drops into the grooves of the pieces I want to color in the panel lines.


Once the enamel paints dried, I took my panel line eraser (basically a firm sponge on a stick -  can use a q-tip instead too), dipped it in lighter fluid, and started wiping away the excess enamel paint.


This must have been the most clean enamel wash I've done so far. I'm really starting to love this. Perhaps I should start looking into doing this more instead of the risky masking acrobatics I always do.

Today I Learned

  • Need to double check the chemical composition of paint I am using and adapt accordingly
  • Polyurethane acrylic paint melts well with isopropyl alcohol
  • Polyurethane acrylic paint is resistant to ammonia based windex
  • Even darker metallic colors like gunmetal looks better if I take the time to put a glossy black base coat underneath

Progress Report - SD Alteisen Riese (10/2/20)

Masking

The first big masking challenge for this kit was the cylinder of the revolver.


I want to color the 6 circles around the cylinder with yellow so that they look like bullets loaded into the chambers. If I was a smart man, I would just hand brush each chamber. By this point, you should understand something...


I started out by taking a giant masking tape that can cover the entire flat side. It's important to make sure the masking tape is big enough to prevent paint from spilling onto the side surfaces of the piece too.


I then took a pencil and traced around the chambers and then placed the masking tape on the cutting mat.


Now I just needed to cut these circles out but that's hard to do with a regular modeling knife. So I got myself some of these:


These are tools used for punching holes into leather. To use them, I need some help from my little friend -


I found a hole puncher that best fits the size of the circles and placed it above one of the circles and lightly hit the other end with the hammer.


I did this for all six holes and then placed the tape on the cylinder. Unfortunately I noticed the circles didn't perfectly align. So I tried modifying the plan a bit by cutting the tape into pizza slices.


I then aligned each slice of masking tape along each chamber outline.


I quickly realized this had its own problem - there were lot of small gaps between each slice. At this point, instead of trying to figure out a way to mask every small gap, I decided to take the slow and steady method.


I decided to just paint in one chamber at a time.

The other piece that I needed masking was the shoulder wings.


This part requires two steps of masking but it should be much easier than masking the chambers.

I once again started out by placing a masking tape large enough to cover the entire section that I want to mask.


Thanks to the deep grooves I cut for panel lines, I was able to just use modeling knife directly onto the masking tape and cut along the panel lines.


Now it's time for the fun part - candy coating.

Airbrushing

I started by applying a light layer of clear yellow on top of the masked chamber.


I waited a few mins for it to dry and then went on and applied another layer.


The candy coated yellow color looked nice. I gave it a few mins to dry again and removed the masking tape.


It wasn't perfect because the hole was a bit smaller than the actual chamber but I figured it was good enough. I went on and placed the same masking tape on along a different chamber and started airbrushing again.

I was able to mask on top of the freshly painted chambers without damaging the paint after only letting it dry for 5 minutes.


Hmm... maybe I should have used a copper color instead of candy coating it yellow.


By the 4th chamber, I realized paint is spilling through the masking tape... Reusing the same masking tape was a terrible idea...


So I started cutting out a new masking tape with a hole for each chamber.


I suppose the saving grace is that this part isn't going to be very visible once I finish assembling.

On the other hand, the other side of the cylinder came out perfectly because I used a new piece of masking tape for each chamber (and the hole punching tool sizes fit better).


In any case, I went on and candy coated the remaining yellow pieces.


On the left, we have a piece before I started applying candy coat layers on top of the base chrome. On the center, we have the same piece after applying the first layer of clear yellow. And finally on the right, we have the same piece after the second layer of clear yellow. You can see that each layer makes the color show up much stronger.

After all the yellow candy coats were done, I moved on to the pieces that were to be painted red. After I finished applying the first layer of clear red on all my pieces, I noticed something.


I'm still not quite 100% sure what happened here. As the clear coat started drying, it started leaving speckles of unpainted regions around the pieces. And to make things extra bad, it was happening to all of them.


My best guess is that I thinned the paint too much and also applied a too thick of a layer for the first pass.

At this point, I don't think there was anything I could do to salvage these. I had to start over...

Repair

Hello darkness my old friend...


No, not you.


Just looking at this thing gave me a stomach cramp... I started having flashbacks of Wing Zero Custom.

Before I dunked all the pieces into a windex bath, I decided to take a peek at how well the masking would have come out for the shoulder wings.


Sigh... This was going to come out so nicely...

In any case, I filled up a tupperware full of windex (the kind with ammonia) and dunked all the red pieces inside it.

I then went and cried for the rest of the day.

Today I Learned

  • Do not reuse masking tape - stop being so lazy!
  • Candy coating is hard
  • When testing paint layers on a spoon, make sure to check how it dries too (I was seeing the same thing happening on the spoon when it dried)
  • Need remember that candy coating is all about applying THIN layers

Progress Report - SD Alteisen Riese (9/29/20)

Workstation

To avoid all the ashes from the wildfire and all the bug bites on my leg, I decided to move my workstation indoors.


I got myself a new spray booth with a stronger fan and a quieter air compressor.

Repair

I noticed few of my primed pieces didn't have a nice smooth glossy finish as they were supposed to.


These are the parts that were very poorly sanded with 600 grit. I've been reading that 600 is generally fine but I suspect the cheap sanding sponge I was using was probably little more coarse than its labe. So I decided to try re-sanding them.


Here is what the piece looked like after re-sanding with 400 grit. This was mostly to remove the primer layer off of the plastic.

I then took 600, 800, 1000, 2000 grit sanding pads and lightly sanded off the surface from low grit to high grit.


And here we have what it looked like after I finished with the 2000 grit. For most glossy finish purposes, 800 grit is supposed to be sufficient but since I'm doing candy coating (where small flaws are extra noticeable), I decided to go up to 2000 grit.

Here is a comparison shot using another piece:


On the left, we have a piece that was coated with glossy black primer after sanding with 600 grit. You can see it has lot of bumps and the surface does not look smooth and glossy.

On the center, we have a piece that was sanded with 2000 grit. Even before adding primer, you can see the piece looks much smoother than the piece on the left.

On the right, we have the piece from the center coated with the same primer used on the left. The surface is smooth and glossy enough to see my own reflection on it.

Airbrushing

For base color, I divided the pieces up in two categories: chrome group and gunmetal group.

First group consists of pieces that will be candy coated red and yellow along with pieces that will be coated plain chrome. This first group will be painted chrome for base layer.


The chrome color from Vallejo Metal Colors series came out very nicely. It had a much nicer metallic look than the generic silver color from the model color line. It didn't have the nice mirror-level sheen like lacquer based paints (i.e. Alclad II) but I imagine this was the best I was going to get using acrylic paints.

The second group is the darker pieces that will be coated gunmetal. Aside from some parts that needs to be masked and have split colors, these pieces will only have the base layer and the top coat.


The gunmetal color from Tamiya didn't have a nice metallic look like the chrome paint I was using for chrome. I'm contemplated on whether I should stick with glossy black finish but I decided to just see through the gunmetal finish to the end.

Scribing

I just want to take a moment to show how badly scribing failures show up once you start coloring metallic colors.


This is the piece that I tried to cover up the scribing mistakes by just sanding it off during the last progress report. In fact, this piece was one of the pieces I had to undo my first primer coat because it didn't have a smooth surface. I even went through the effort to lightly repair the scratches using a super glue (still have no epoxy putty). Everything looked ok after I primed it again after the repair but this is how it looked once I applied the chrome layer.

Hopefully I'll get some more practicing with scribing and can improve for next time.

Today I Learned

  • Always be diligent with sanding - no skipping out!
  • Scribing failures can be really bad on metallic colors