Seam Line Removal
The top coat on the lower inside wings cured enough so I decided it was time to piece it together with the outer shell.
Though rest of this kit creates no seam lines during assembly, this part is the only part that has seam lines that needs to be addressed. I did this by applying cement glue and applying pressure on them using large paper clips.

Doing this melts the edges of the plastic and the melted plastic oozes out where the seam line used to be.

Once the glue hardened, I sanded it down until the visible marks are gone.

Now it's ready for masking.
Masking
My goal here is to mask the parts that are already painted.

This is a bit tricky since some portion of it folds into the outer shell.

With that, the lower rings are ready for painting.
As for the upper wings, the thick layer of masking sol that was applied last time was fully cured. I tried again cutting the edges with a hobby knife but that only made the whole mask come off.

... and some of the paint too.
Perhaps, if I ever decide to use liquid masking again, I will stick to using a thin to medium layer and just find a better way to remove the cured masking (I've heard using tac works well).
With that, I chose to just remove the paint and decide later whether I will just hand brush the metal parts or just leave the hidden portions white.
Repair
So the next step is to figure out how to remove the paint. Last time I tried to strip paint, I used alcohol and toothbrush to scrub the paint off but that did not work very well. Since the paint is fully cured this time, it'll be even harder to manually scrub it off.
After some quick research, I learned that using ammonia based windex does a remarkable job removing acrylic paint while not damaging the plastic (some other solutions like acetone are known to also make the plastic brittle). In case anyone reading this would like to try this as well, I would also like to emphasize that the fumes from ammonia based windex is toxic - you do not want to breathe in the fumes as it evaporates or let it get to your eyes.
Two dollars and a trip to the grocery store later...

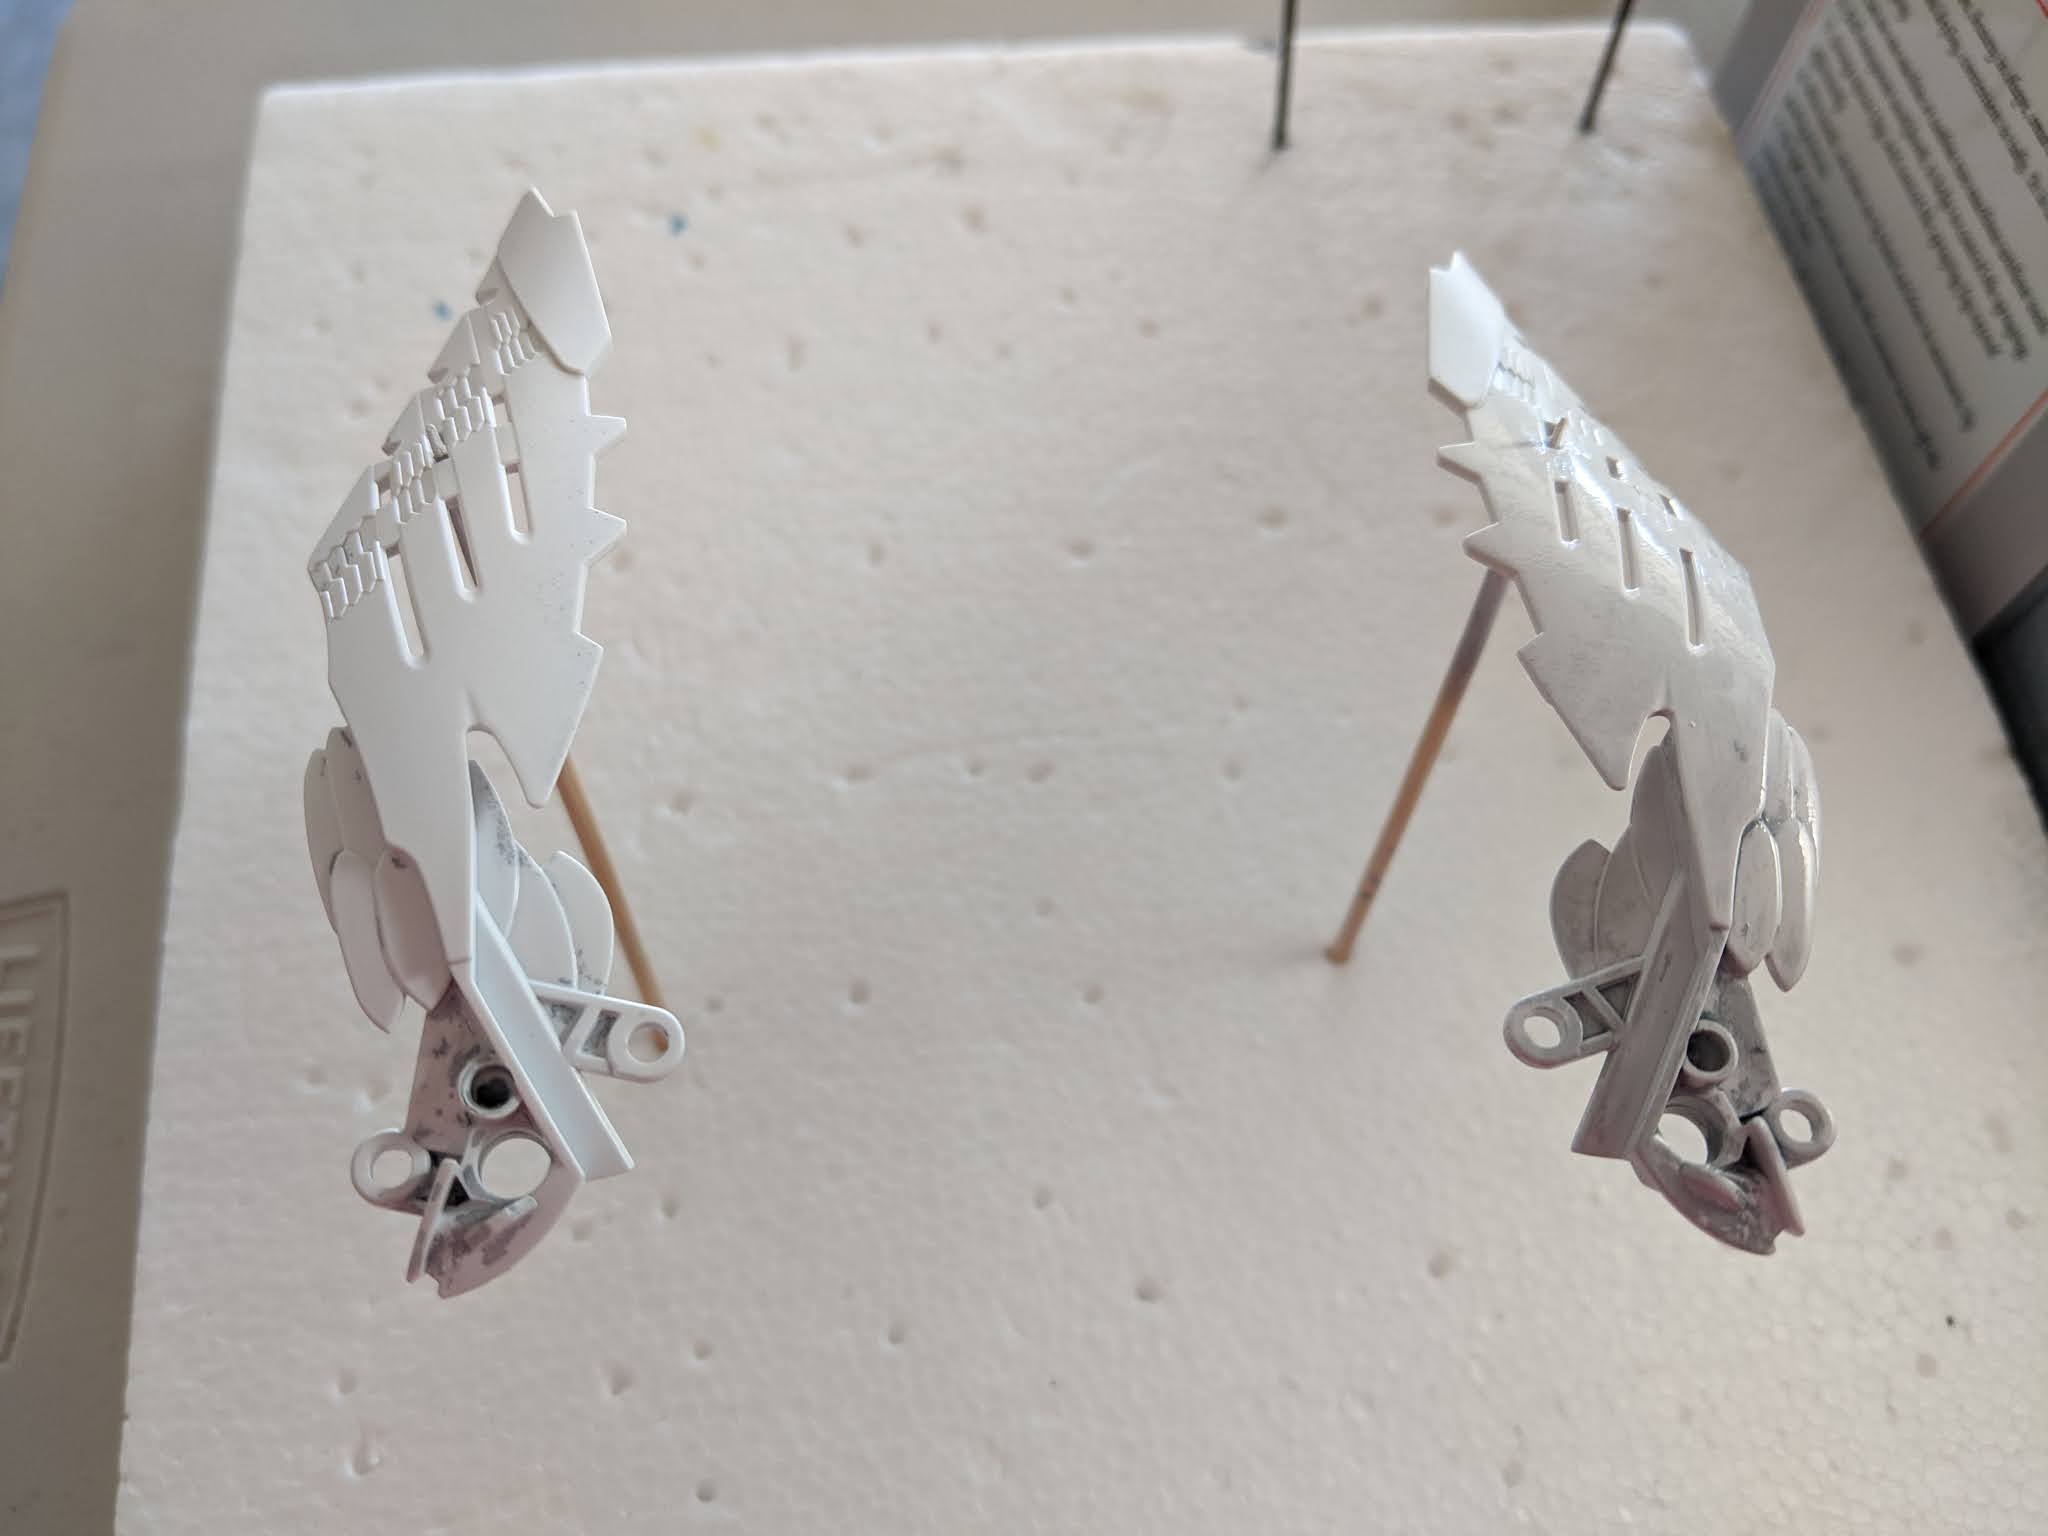
I left the two pieces submerged in windex overnight and found the metallic layer completely gone from the pieces. Unfortunately, the black primer that was sitting underneath the metallic paint proved to much harder to remove.

After scrubbing it fiercely using the rougher side of a sponge and a toothbrush, I was able to get rid of a significant portion of the primer but I was not able to completely remove it.

At this point, I briefly attempted applying white primer over it.
Unfortunately, this caused two new problems. First, it was quickly becoming too thick of a layer before the black color was fully covered up by the new layer of primer. Second, the unevenly removed layer of old primer was causing very noticeably uneven texture on the surface (which became more painfully visible with each layer of new primer on top).
So I gave up and decided to just leave the two pieces in windex bath for a longer time.

Hopefully the ammonia will eventually eat through the remaining acrylic paint...
Airbrushing
Going back to the lower wing, I painted over it with white primer.

As usual, painting white primer over white plastic is very hard to keep track of. I did my best by trying to paint it until the swirly plastic texture and the glossy sheen was no longer visible. In the photo above, the left one is painted and the right one is not.
I considered painting over it with the grey primer instead but it just felt like such a waste since I would have to paint white over it again afterwards (and it takes so much damn paint to get it back to white).
And a quick update on the metallic chrome:
The thick layer of chrome hasn't changed much. I think it's safe to assume rest of the curing process will look more or less the same. The paint looks mildly caked paint and has a water-stained texture.

The medium layer of chrome is starting to look different from the thick layer. It doesn't have the awful water-stained texture but it still has a caked paint look.

The double thin layer chrome is looking much better than it did with only single layer. It has a very nice high sheen and looks very clean.

I'm almost tempted to try applying another thin layer on the last one to see how it looks.
Today I Learned
- There's just no winning with liquid masking
- Ammonia fumes really burn your eyes and lungs
- Seam line removal requires a lot more sanding than I originally imagined
- I should consider getting tamiya putty to help with seam line removal next time
No comments:
Post a Comment